Create a mock server very quickly using an existing API
Do you already have an existing backend and want to create a mock server? You can do this very easily using the Mockfly Google Chrome extension. This extension allows you to create a mock server based on the requests you already make to your real server. This allows you to avoid having to create your endpoints one by one but instead, you can do it through the Mockfly Chrome extension interface. To illustrate a practical use case, we will use an existing server and mock it using our Chrome extension, utilizing the Pokémon API.
Create the project in Mockfly
The first thing we need to do is create our mock server in Mockfly, for which we need to create a project. To do this, we go to the Mockfly page and create a new project. In our case, let's call it the Pokémon API:
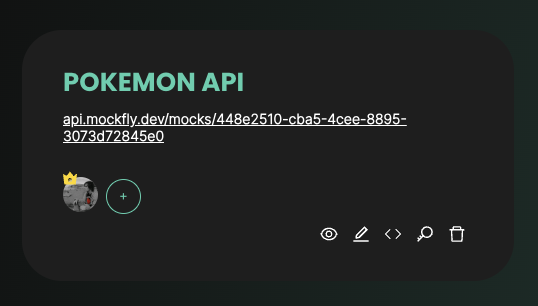
There we can see that it shows us a URL, which is the base URL we will use for our requests, in this case:
https://api.mockfly.dev/mocks/448e2510-cba5-4cee-8895-3073d72845e0This is our base URL, and after it, we will put the endpoints we want to create. But we will do this using the Google Chrome extension to mock APIs.
To add the endpoints we need to our project using the Chrome extension, we will need our project's API key, which you can see if you click on the button with the key icon at the bottom of your project:
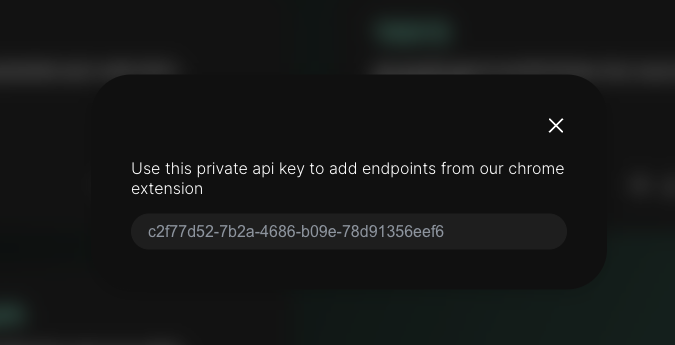
We won't need it right now, but we will need it later.
Install the Mockfly extension
To use the Mockfly extension, we have to install it in our browser. To do this, we go to the Chrome Web Storeand search for Mockfly, or we can go directly from this link.
Once installed, it will create a tab in Chrome's developer tools titled Mockfly. We can open the developer tools by pressing ctrl+shift+i or cmd+option+i on Mac. Once open, we should see the Mockfly tab.
If we click on it and start browsing, we will see how the extension begins to show us all the requests the browser makes, just like in the network tab of the developer tools. The difference is that here, we can select the ones we want and then add them to our Mockfly project.
Mock the Pokémon API
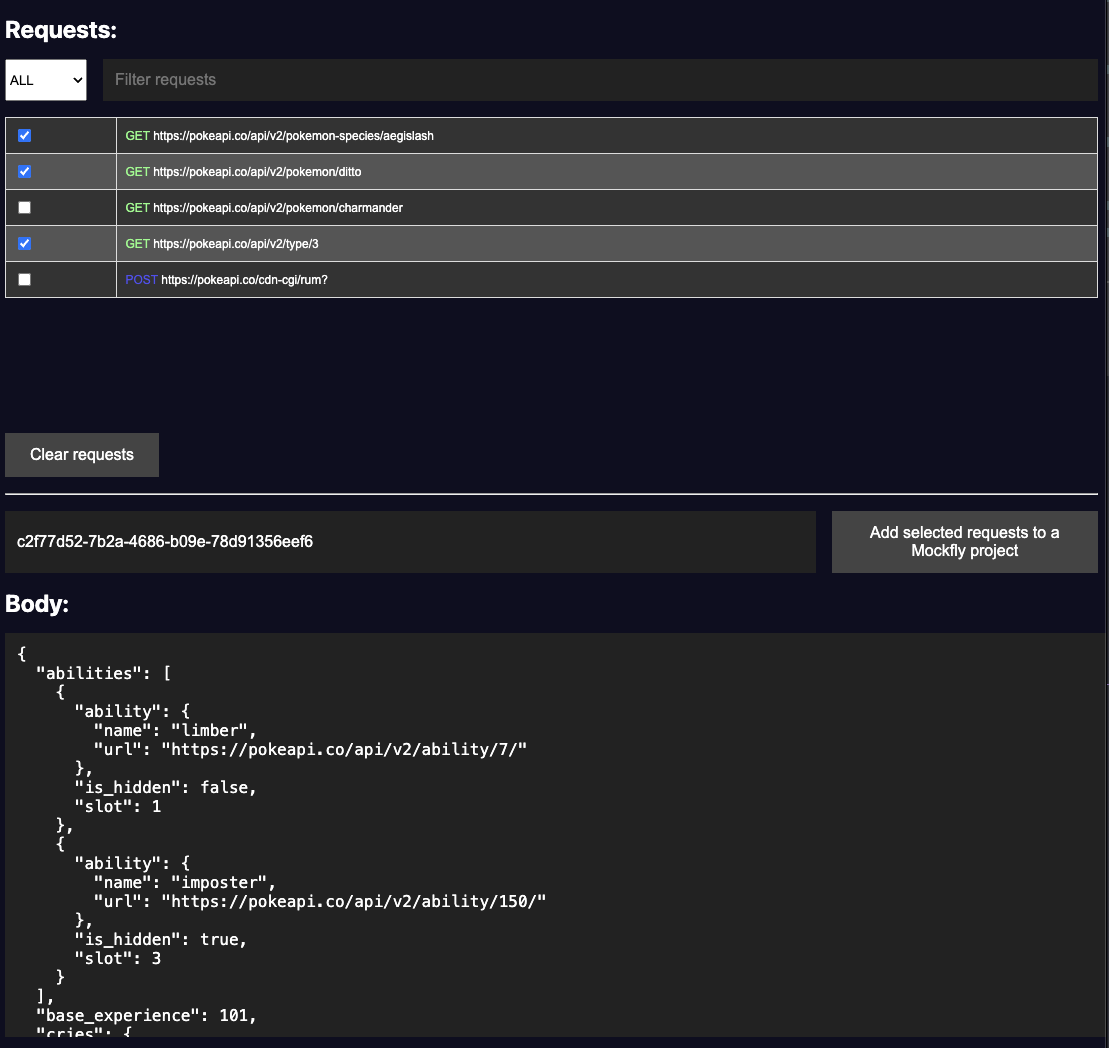
Let's visit the Pokémon API and make some requests so that the Mockfly extension captures them and we can add them to our project. Once we see that the extension is capturing the requests we make, we will select the ones we want and add them to our project. You just need to click on the checkboxes of the requests you want to add to our project, enter our API key which we have already seen how to obtain, and click on the "Add selected requests to a project" button.
If you want to know what you are going to add to your project, you can click on each request to see the body.
See the result
Once we have added the requests to our mock server, we can now see in Mockfly the requests we have added, and we can start making requests from our frontend to our mock server. For example, if we want to make a request to the Ditto endpoint, we can do it through the base URL provided by Mockfly and the endpoint we created, in this case, it would be:
https://api.mockfly.dev/mocks/448e2510-cba5-4cee-8895-3073d72845e0/api/v2/pokemon/dittoAnd this would return the information of the Pokémon Ditto.
That's how easy it is to create a mock server with Mockfly. Afterwards, you can edit, delete, generate other responses, add delays to endpoints, etc.