When aiming for the most realistic scenario, we sometimes need our mock API to respond differently based on the parameters we send. This can be easily achieved with Mockfly, and we also support conditional API responses based on:
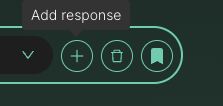
An endpoint can have multiple responses, each with a different status code. To create a new response, click on the "+" button next to the status code, and a new response with a status code of 200 and a body of will be created:
Now you will see that in the response selector, you have two available responses. The first one is the default response created when you first set up the endpoint, and the second one is the one we just created.

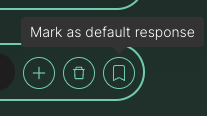
An endpoint always serves a default response. To change the default response, click on the "Mark as default response" button next to the "+" and delete response buttons. The default response is served when no condition is specified or when no condition is met.
It's essential to note that rules apply per response, and each response has its own set of rules. This means that if we have two responses, each one can have its own rules. For example, we can have a response served by default and another served when a specific condition is met. In this case, if the condition is met, the response that fulfills the condition will be served instead of the default one.
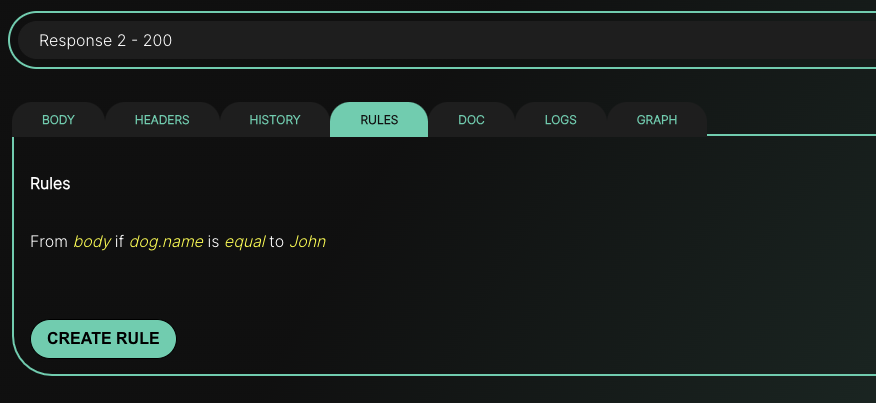
To start serving responses conditionally, we simply need to create what we've termed "custom rules". You can find this under the "rules" tab on any endpoint. In this tab, you'll find a button to create a rule for serving a response conditionally.
Consider the following scenario: we have an endpoint with two responses created at the URL: /responses/:responseId.
{
  "response": "this is my first response"
}
{
"response": "this is my SECOND response"
}Our goal is for the API to return the second response when the :responseId parameter is "2", i.e., when the request is to /responses/2. In any other case, it should return the first response. To achieve this, we must select the response we want our rule to apply to (response 2) and then create a rule by clicking the "Create rule" button in the "rules" tab.
Upon clicking the button, a modal will appear asking for:
In our case, we'll specify that it should be taken from the URL parameter, that the property is "responseId", and that the value must be equal to 2.
Once we create it, any requests made when responseId is 2 will serve response 2, i.e.,
{
  "response": "this is my SECOND response"
}and in any other case, response 1.
This allows us to have more realistic data and for our mock API to be more lifelike. For instance, we could specify that if a request doesn't include the Authorization header, it should return a 403, and other such behaviors to mimic a real API as closely as possible.
To return a conditional response based on the query params, the process is quite similar to what we've discussed with URL params. However, this time you'll need to select "Query string". For instance, if you wish to return the second response when the query param page is set to two, you'll select "Query string", input "page", set the condition to "equal", and the value to "2". Consequently, when a request is made with ?page=2, the second response will be returned.
Responses can also be conditionally returned based on the presence of an XML tag in the received body. Let's consider we have two XML responses:
//respnse 1
<note>
    <to>Tove</to>
    <from>Jani</from>
    <heading>Reminder</heading>
    <body>Don't forget me this weekend!</body>
</note>
//response 2
<note>
    <to>Zam</to>
    <from>Angela</from>
    <heading>Reminder</heading>
    <body>Test</body>
</note>
If you want the mock API to return the second response when the body of the incoming request contains a specific XML tag, say "testtagname", you'll need to choose the "XML tag" option. This will change the input options since when adding an XML rule, you can only verify the existence of that tag. Select "has" and specify the XML tag name, in this case, "testtagname". If the body sent to the mock API contains a <testtagname> tag, the API will return the second response. An example request could be:
//body request
<?xml version="1.0"?>
<SOAP-ENV:Envelope xmlns:SOAP-ENV="http://schemas.xmlsoap.org/soap/envelope/">
    <SOAP-ENV:Body>
        <testtagname>test</testtagname>
    </SOAP-ENV:Body>
</SOAP-ENV:Envelope>
If you need something more sophisticated, you can use XPath to find what you need in your XML. For example, you can create a rule with the following XPath:
//person[role='admin']Then, send the following XML in the body. If the XPath finds any node in the body, it will return that response.
<root>
  <people>
    <person id="1">
      <name>Laura</name>
      <age>28</age>
      <role>guest</role>
    </person>
    <person id="2">
      <name>Mario</name>
      <age>35</age>
      <role>admin</role>
    </person>
  </people>
</root>
If you need more information about using XPath, check the official documentation.
Using headers in rules is straightforward. Simply go to the rules button, click to create a new rule, and in the modal, you will need to select something like the following:
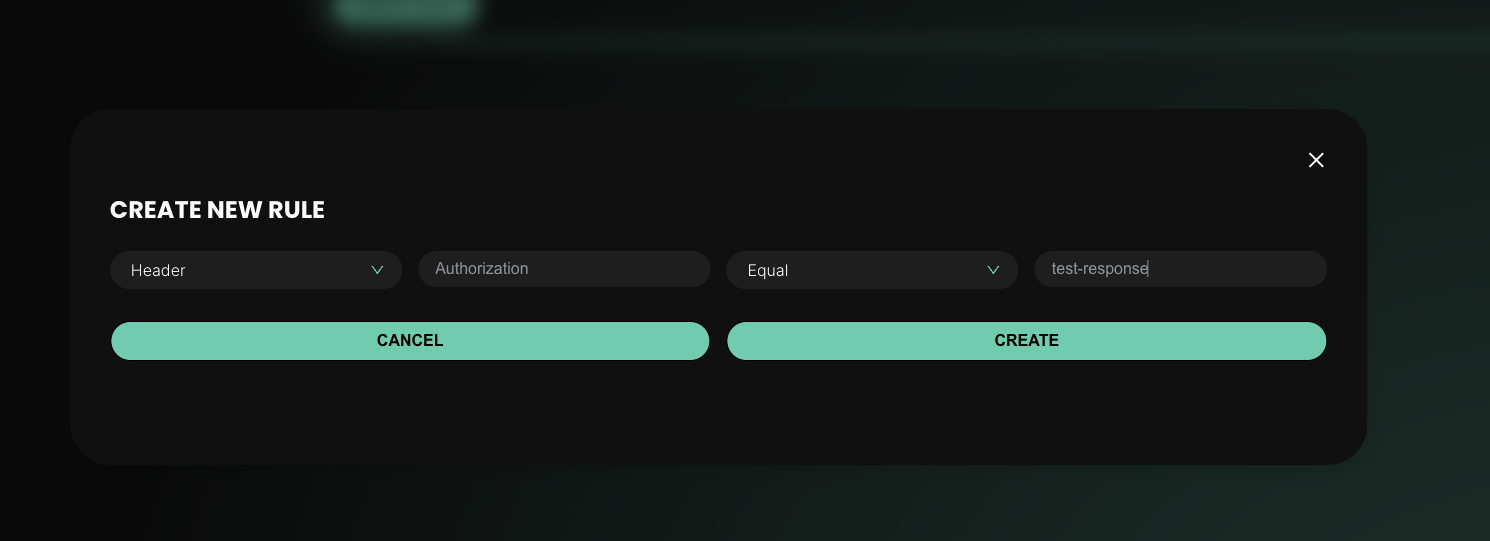
If we look at the example in the image, it is specifying that this response will be served when the request includes an Authorization header with the value "test-response." If this condition is not met, the default response will be served.
You can also use the body you send, for example, in a POST request to mock different responses. For instance, if you want to always serve a response when the body contains a dog object with a name property equal to "John," you can do the following:
Select the body and specify that dog.name should be equal to John, as shown in the following image:
Next, to test it, we will use Postman and make a POST request to the endpoint with that body. The expected response should be {"response": "2"}:

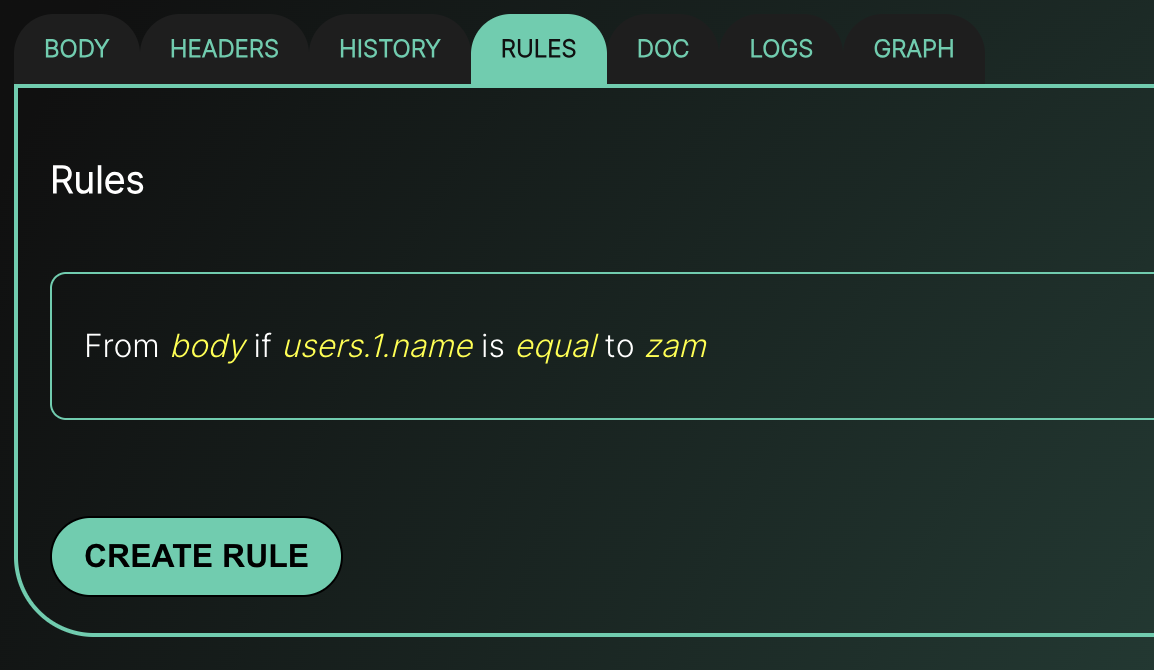
It also works with arrays; you just have to keep in mind that it starts at 0, and you can use it like this: users.1.name, which refers to users[1].name. For example:
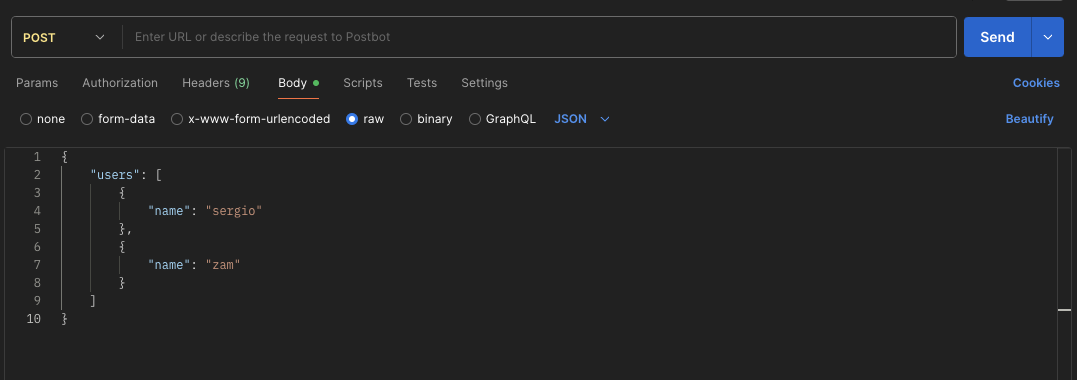
And here you can see an example of a request in Postman that would match that rule:
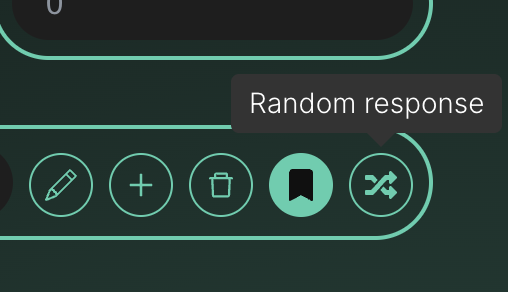
Sometimes you need the API to return a random response from the ones you've already created. To do that, simply click the "Random response" button, and the API will randomly return one of the defined responses. Keep in mind that this button will only be available if you have more than one response created and the rules will be ignored.
Create a project