At times, mocking APIs can be a labor-intensive task, especially when faced with multiple endpoints to emulate. Let's consider a scenario: you have an existing application for which you want to mock existing endpoints. This would require you to scrutinize the server's API and mock each endpoint individually, checking the status codes returned, the body, accepted parameters, and so forth.
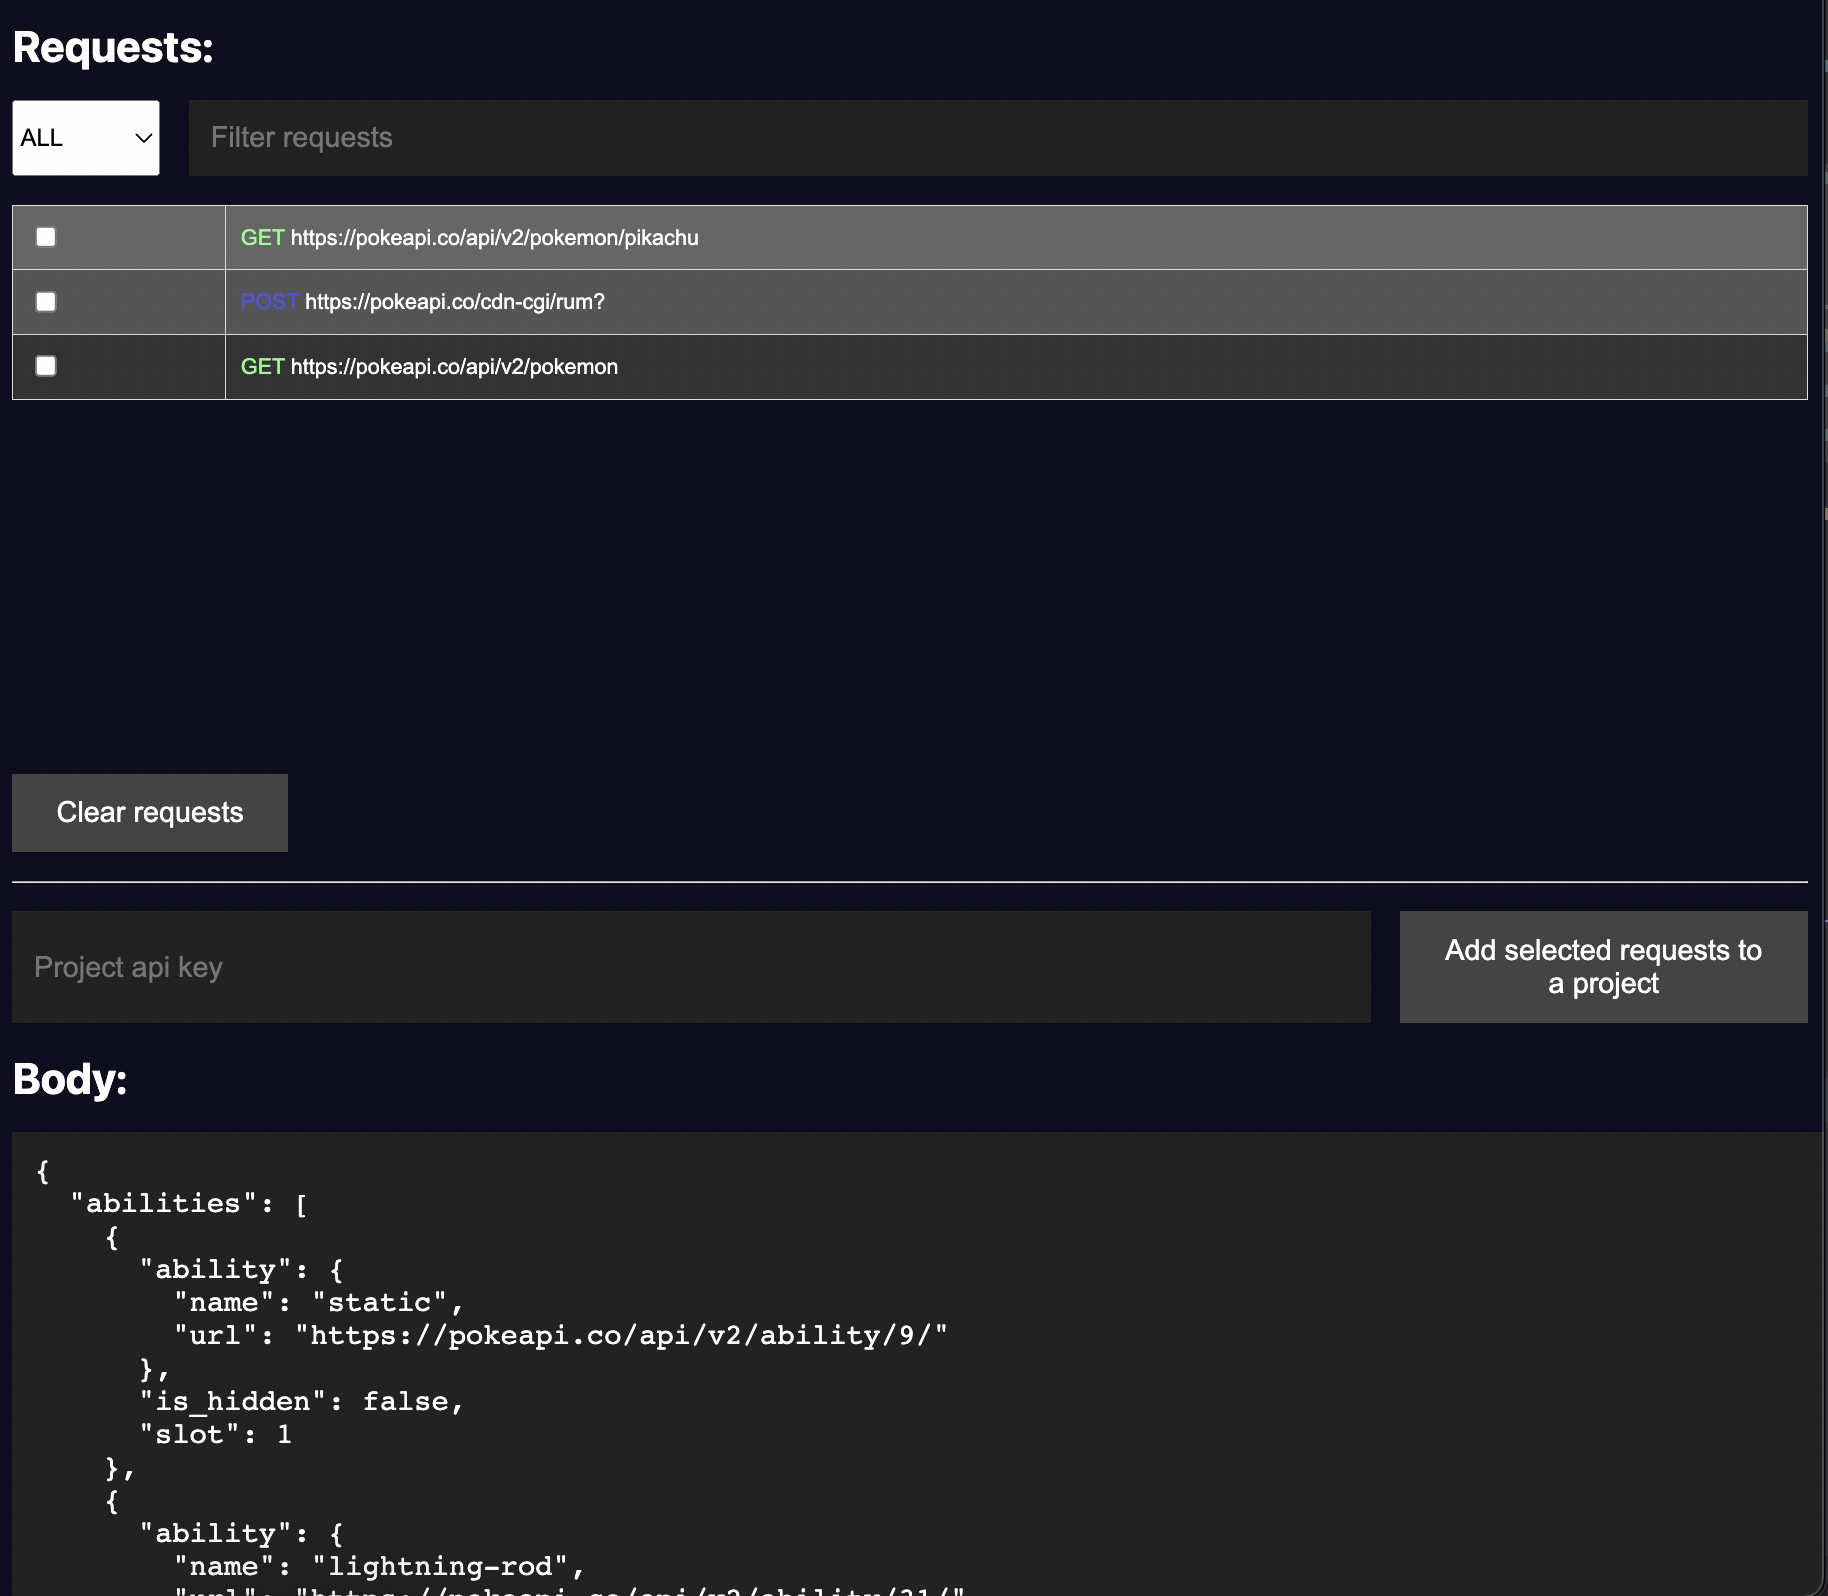
This is why we've developed a browser extension for Chrome. It allows you to monitor the requests made by the browser, and through a user-friendly interface, view these endpoints. You can then easily select the desired ones and add them to your project within seconds.

Installing the Mockfly Chrome extension is straightforward, just like any other extension you might use. Visit the Google Chrome store to install the extension. Once installed, you'll notice a new tab labeled "Mockfly" within Chrome's developer tools.
To begin adding endpoints to your project, visit any webpage with the developer tools open and the Mockfly tab selected. As you navigate, you'll observe the requests made by the browser. You have the option to filter these requests by method and URL, which makes finding specific domains or methods much more manageable.
After selecting the desired endpoints, you must have a project set up in Mockfly. For guidance on creating a project in Mockfly, refer to this section of the documentation.
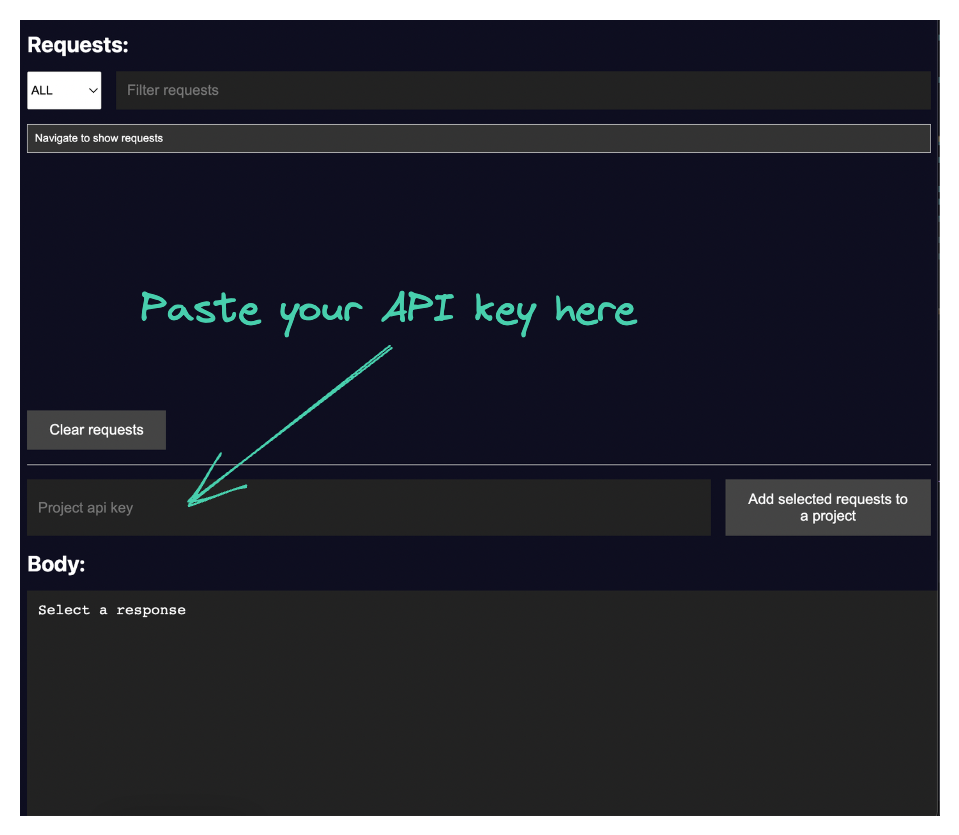
Within your project, you'll find an option to view your API key. This key allows you to add endpoints externally from Mockfly. It's essential to ensure that this API key is kept private and not shared with unauthorized individuals.
If you examine the Chrome extension, you'll notice a text field for entering your API key. Input the key, click on the option to add endpoints to your project, and they will be "automatically" incorporated into your project.

To confirm that everything has been set up correctly, navigate to your project and access the Endpoints section.
Create a project