
WebSocket Mocking
Mockfly supports WebSocket mocking, allowing you to simulate real-time bidirectional communication. This is useful for testing chat applications, live notifications, real-time dashboards, or any feature that relies on WebSocket connections.
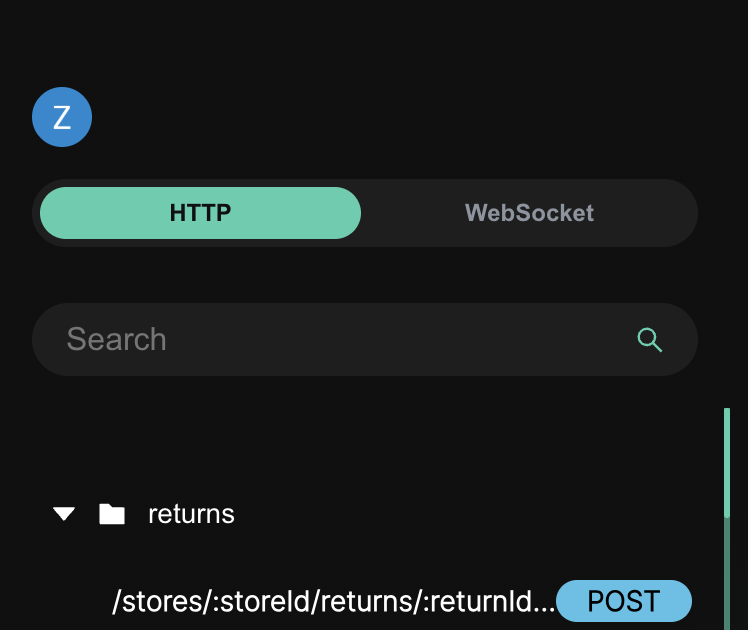
WebSocket endpoints work alongside your existing HTTP mock endpoints within the same project. You can switch between HTTP and WebSocket modes using the toggle in the endpoint list sidebar.
Creating a WebSocket Endpoint
To create a WebSocket endpoint, switch to WebSocket mode using the toggle in the sidebar, then click the "+" button. You only need to provide a path for the endpoint (e.g., /chat, /notifications).
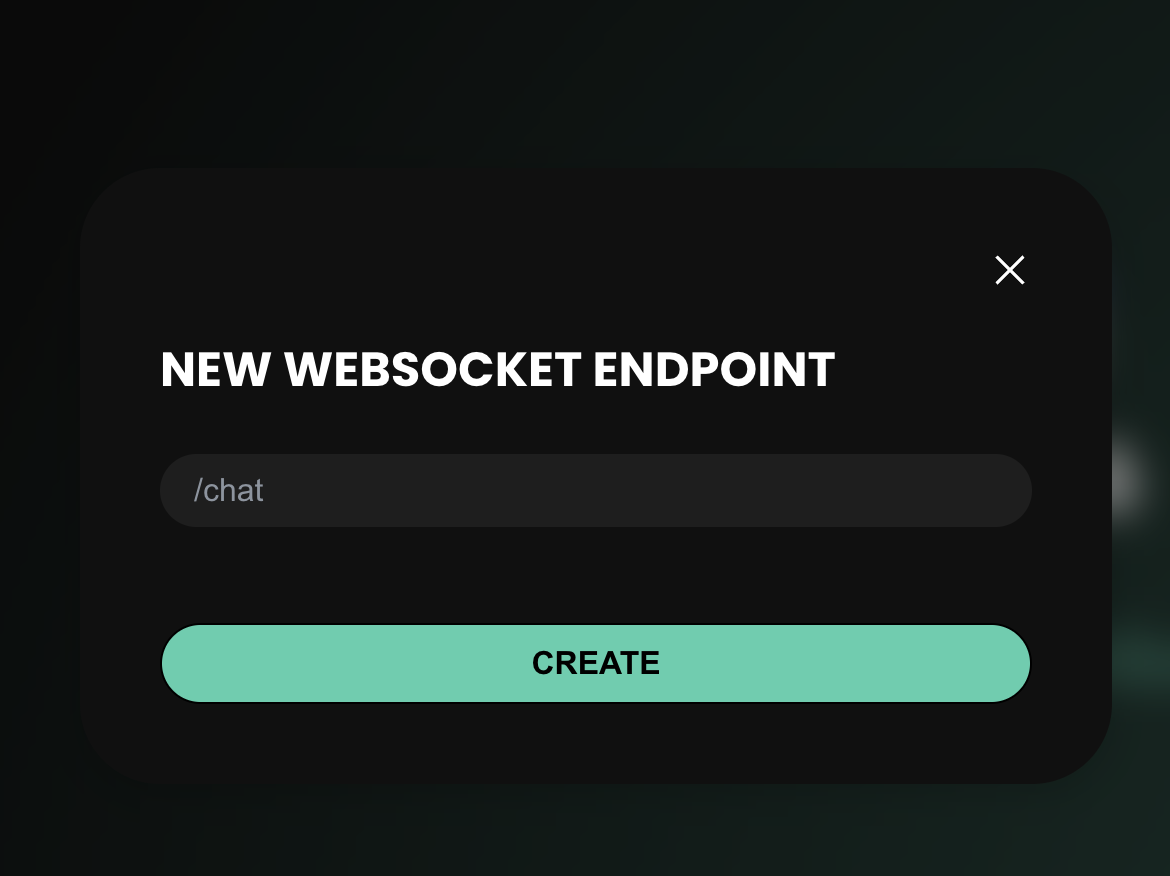
The endpoint will be created with an empty default response. You can then configure the response body, rules, and other settings.
Connecting to a WebSocket Endpoint
Once created, you can connect to your WebSocket endpoint using the following URL format:
ws://api.mockfly.dev/mocks/{your-project-slug}/ws{your-path}For example, if your project slug is my-app and your WebSocket endpoint path is /chat, the connection URL would be:
ws://api.mockfly.dev/mocks/my-app/ws/chatYou can copy the full URL directly from the endpoint detail view by clicking the copy button next to the path.
WebSocket endpoints also support dynamic routes. For example, you can create an endpoint with path /chat/:roomId and connect to /chat/room123.
Configuring Responses
WebSocket responses define what message the server sends back when it receives a message from a client. Each response has a body which is a plain text string (it can also be a JSON string).
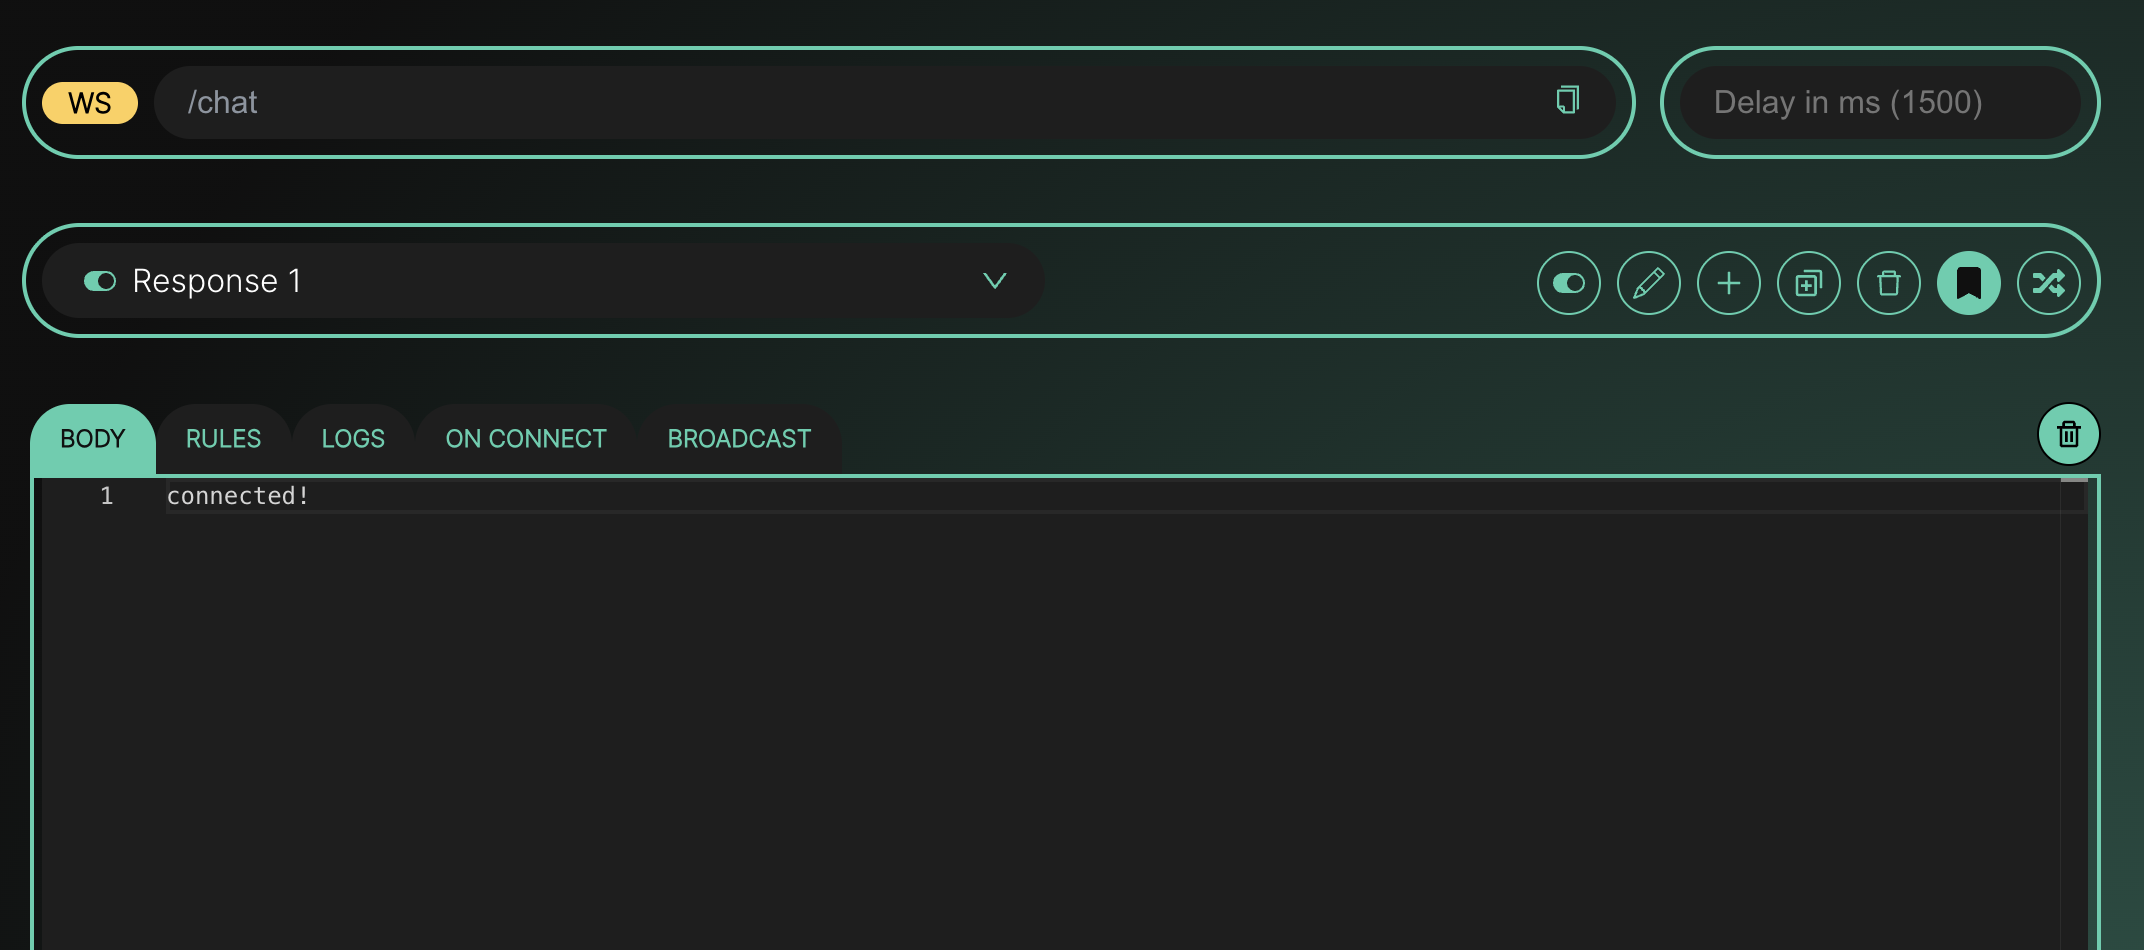
You can configure multiple responses per endpoint, just like HTTP endpoints:
- Add responses using the "+" button in the response selector
- Set a default response by clicking the bookmark icon
- Enable/disable responses using the toggle
- Duplicate a response to quickly create variations
- Return a random response by enabling the dice icon (available with 2 or more responses)
The response body is sent as-is to the client. If you write JSON in the editor, the client will receive that JSON string.
Rules: Conditional Responses
Rules allow you to return different responses based on the message content sent by the client. Unlike HTTP rules (which match against body, headers, query params, etc.), WebSocket rules compare directly against the raw message string.
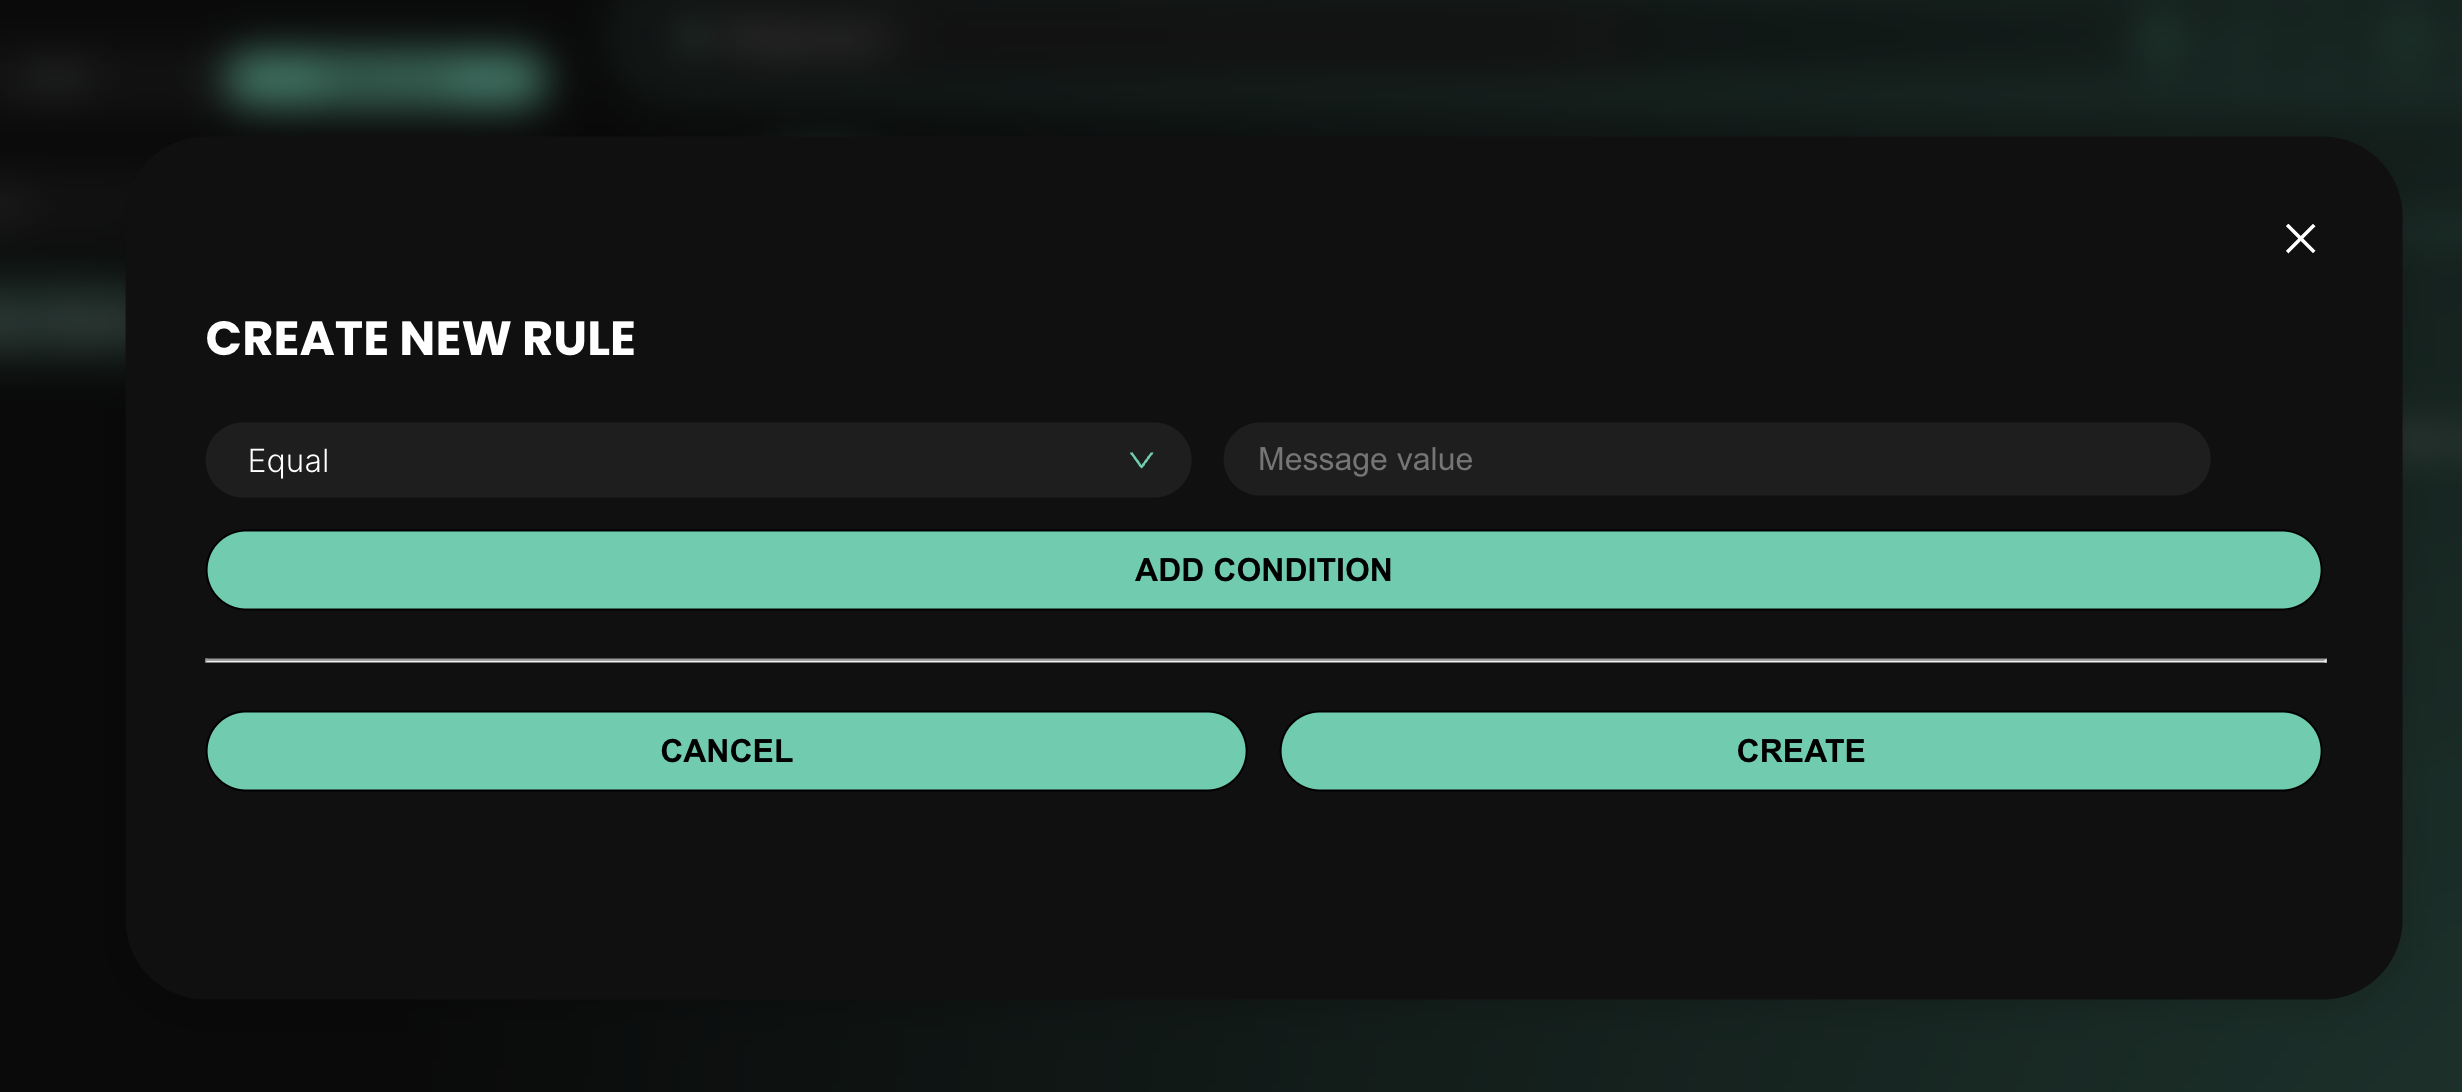
Each rule has a comparator and a value:
- equal: the message must be exactly equal to the value
- distinct: the message must be different from the value
- includes: the message must contain the value as a substring
You can also add AND conditions to create compound rules. For example: "if the message is equal to hello AND includes world".
Example
Imagine you have a WebSocket endpoint /chat with two responses:
- Response A with body
{"status": "greeting received"}and a rule: message equal to "hello" - Response B (default) with body
{"status": "message received"}
When a client sends "hello", it will receive Response A. Any other message will return Response B.
On Connect Message
You can configure an optional message that will be automatically sent to clients when they connect to the WebSocket endpoint. This is useful for simulating welcome messages, initial state, or handshake responses.
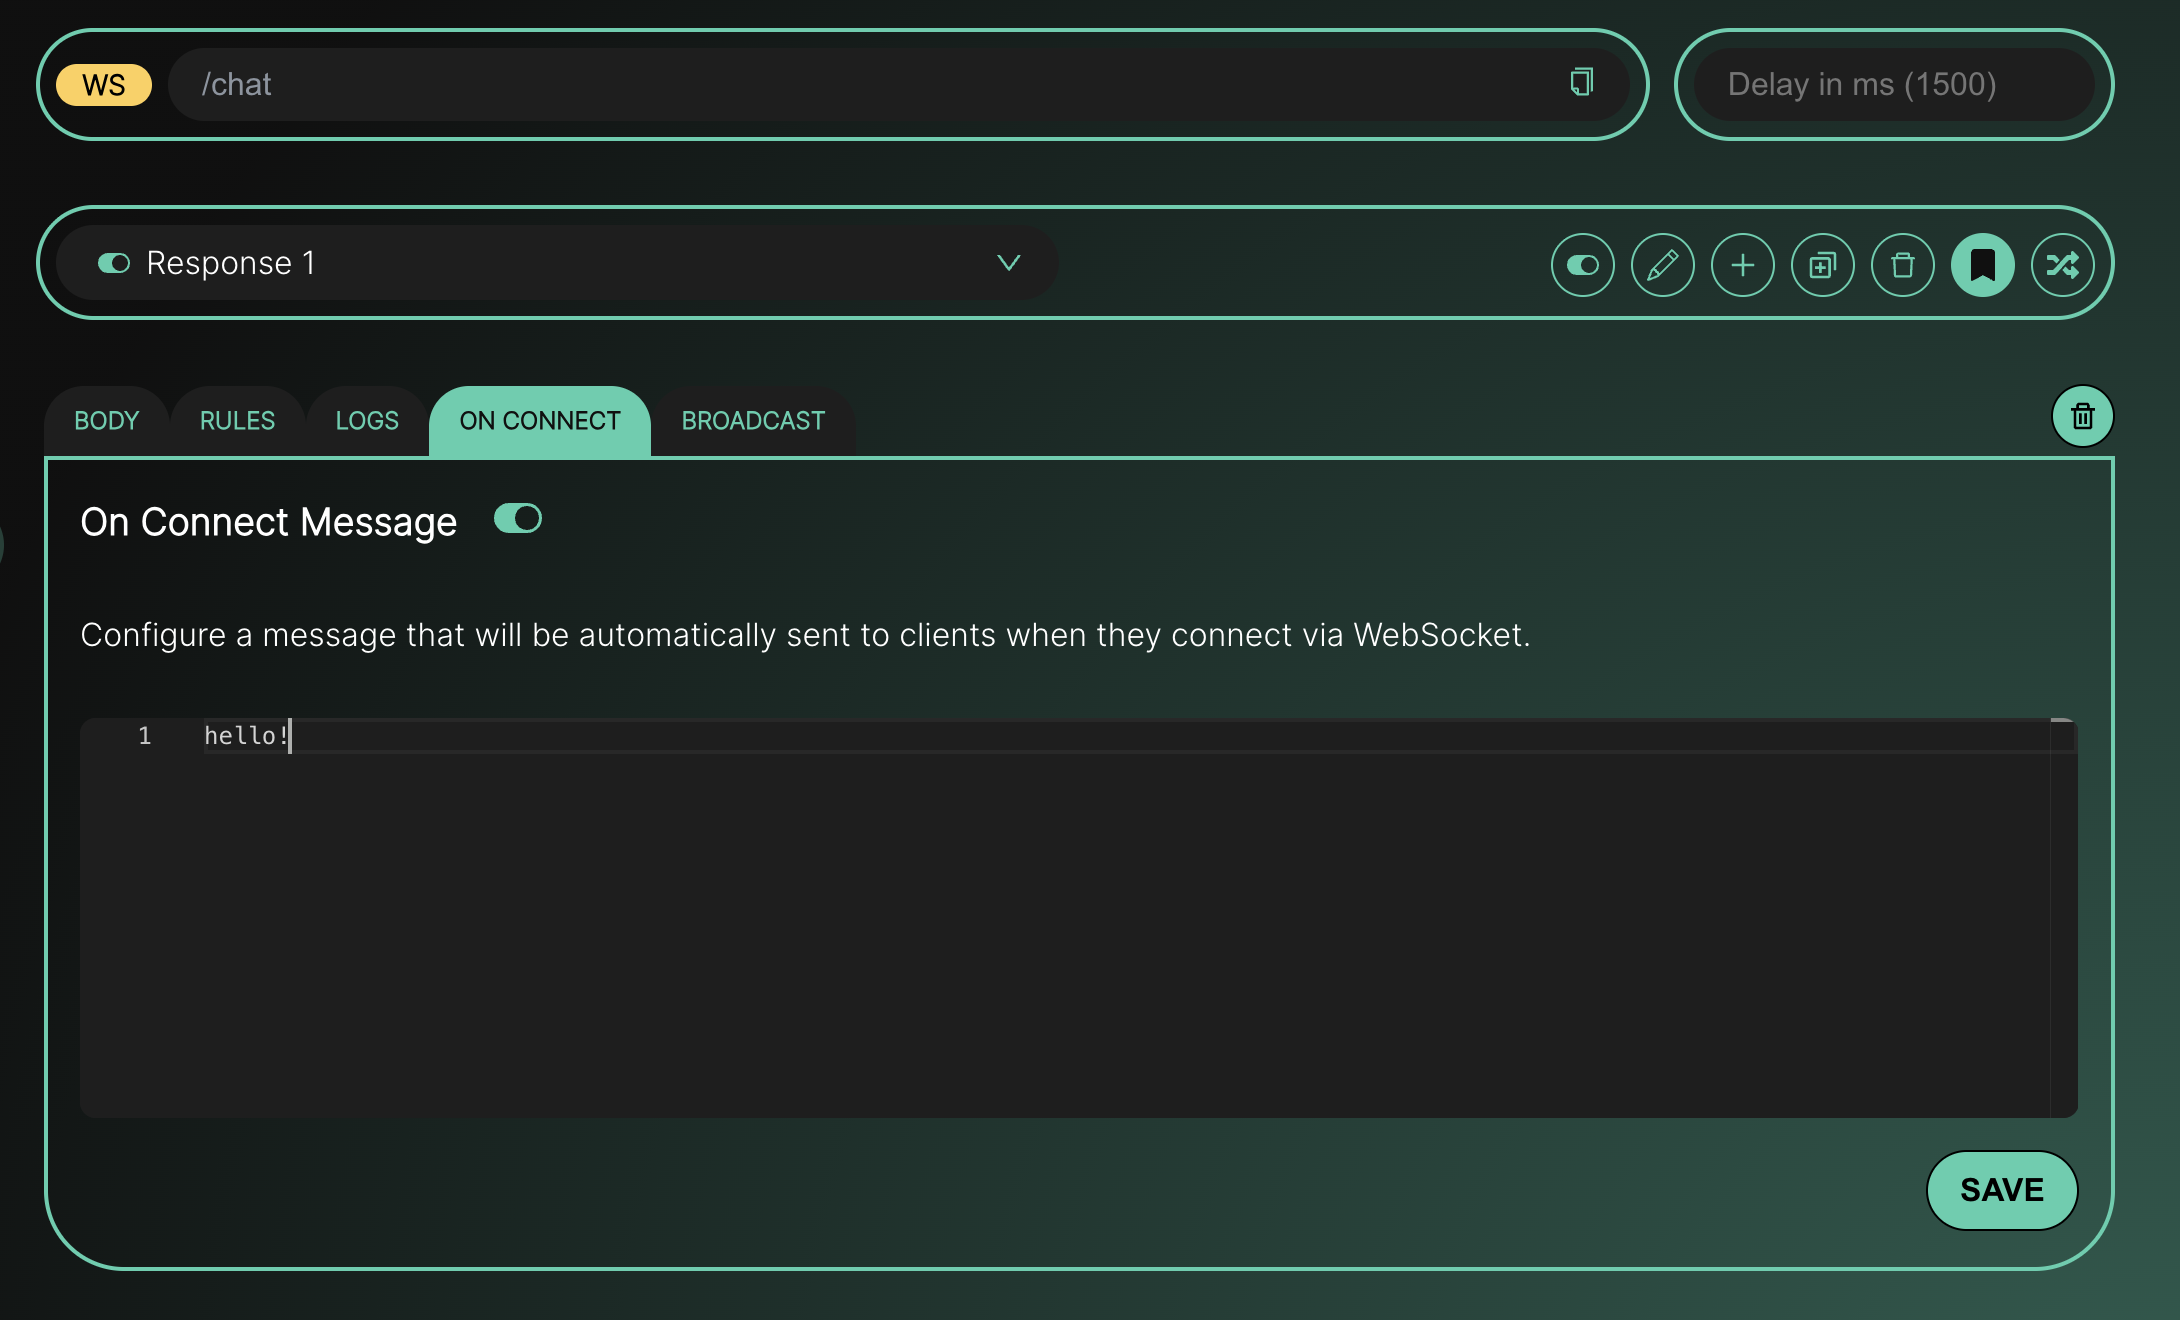
To set it up, go to the "On Connect" tab, toggle it on, write your message in the editor, and click Save. The message can be plain text or JSON. If you toggle it off and save, no message will be sent on connect.
Broadcasting Messages
The Broadcast feature allows you to send a message from the Mockfly dashboard to all clients currently connected to a WebSocket endpoint. This is useful for simulating server-initiated events like push notifications, live updates, or system alerts.
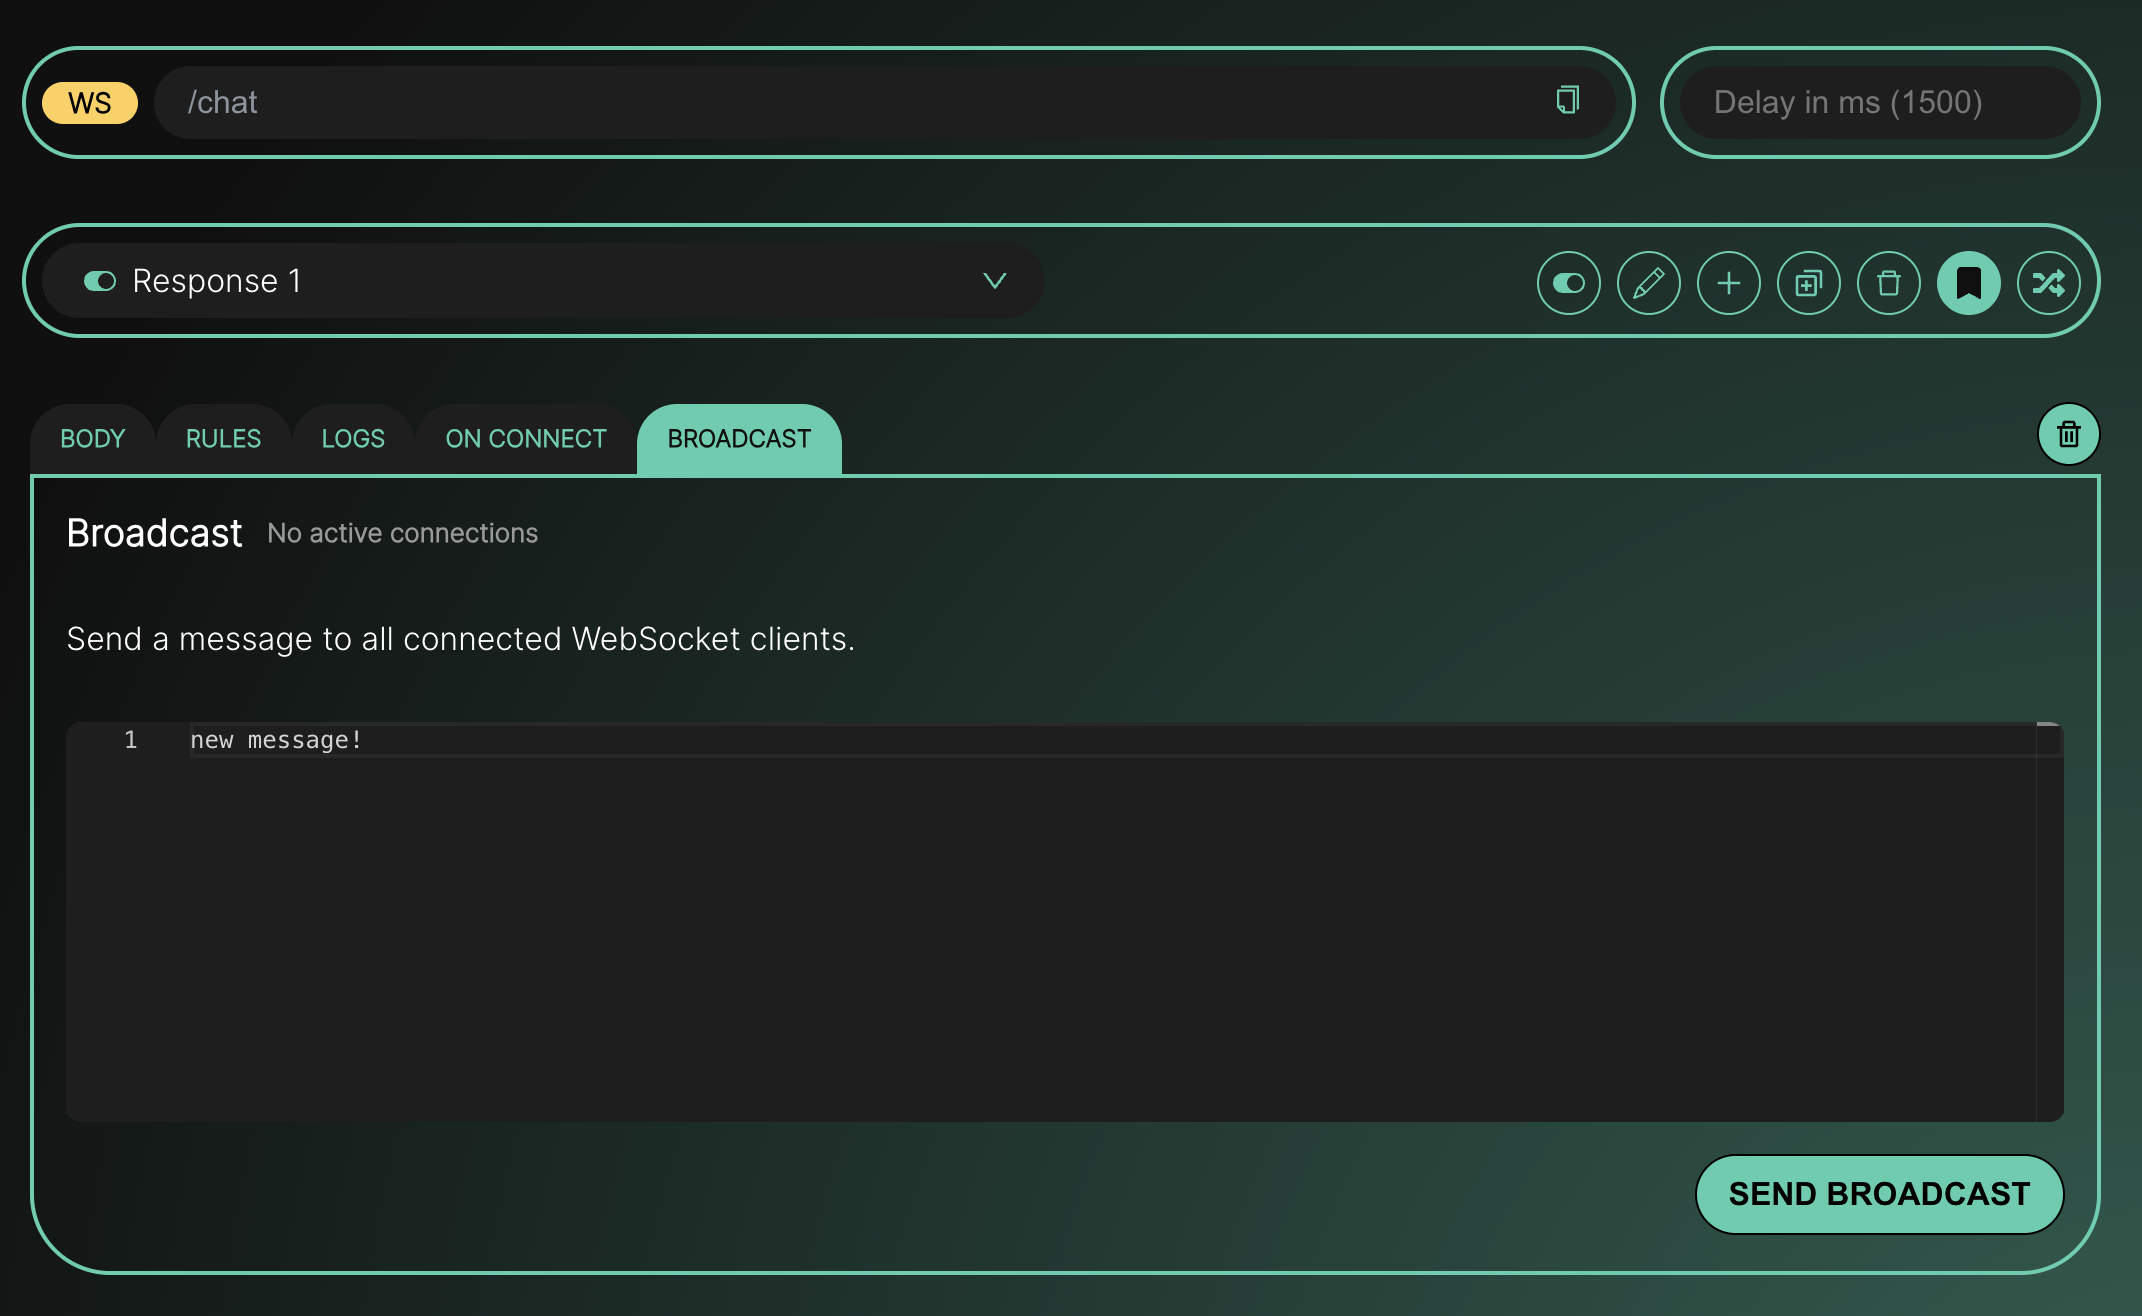
To broadcast a message:
- Go to the "Broadcast" tab in your WebSocket endpoint
- You will see the number of active connections (updated every 5 seconds)
- Write your message in the editor (plain text or JSON)
- Click "Send broadcast"
The button is disabled when there are no active connections. After sending, you will see a confirmation with the number of clients that received the message.
WebSocket Logs
The "Logs" tab shows a real-time log of all WebSocket activity for the endpoint, including:
- Connections: when a client connects
- Messages: incoming and outgoing messages with their content
- Disconnections: when a client disconnects
- Broadcasts: messages sent from the dashboard
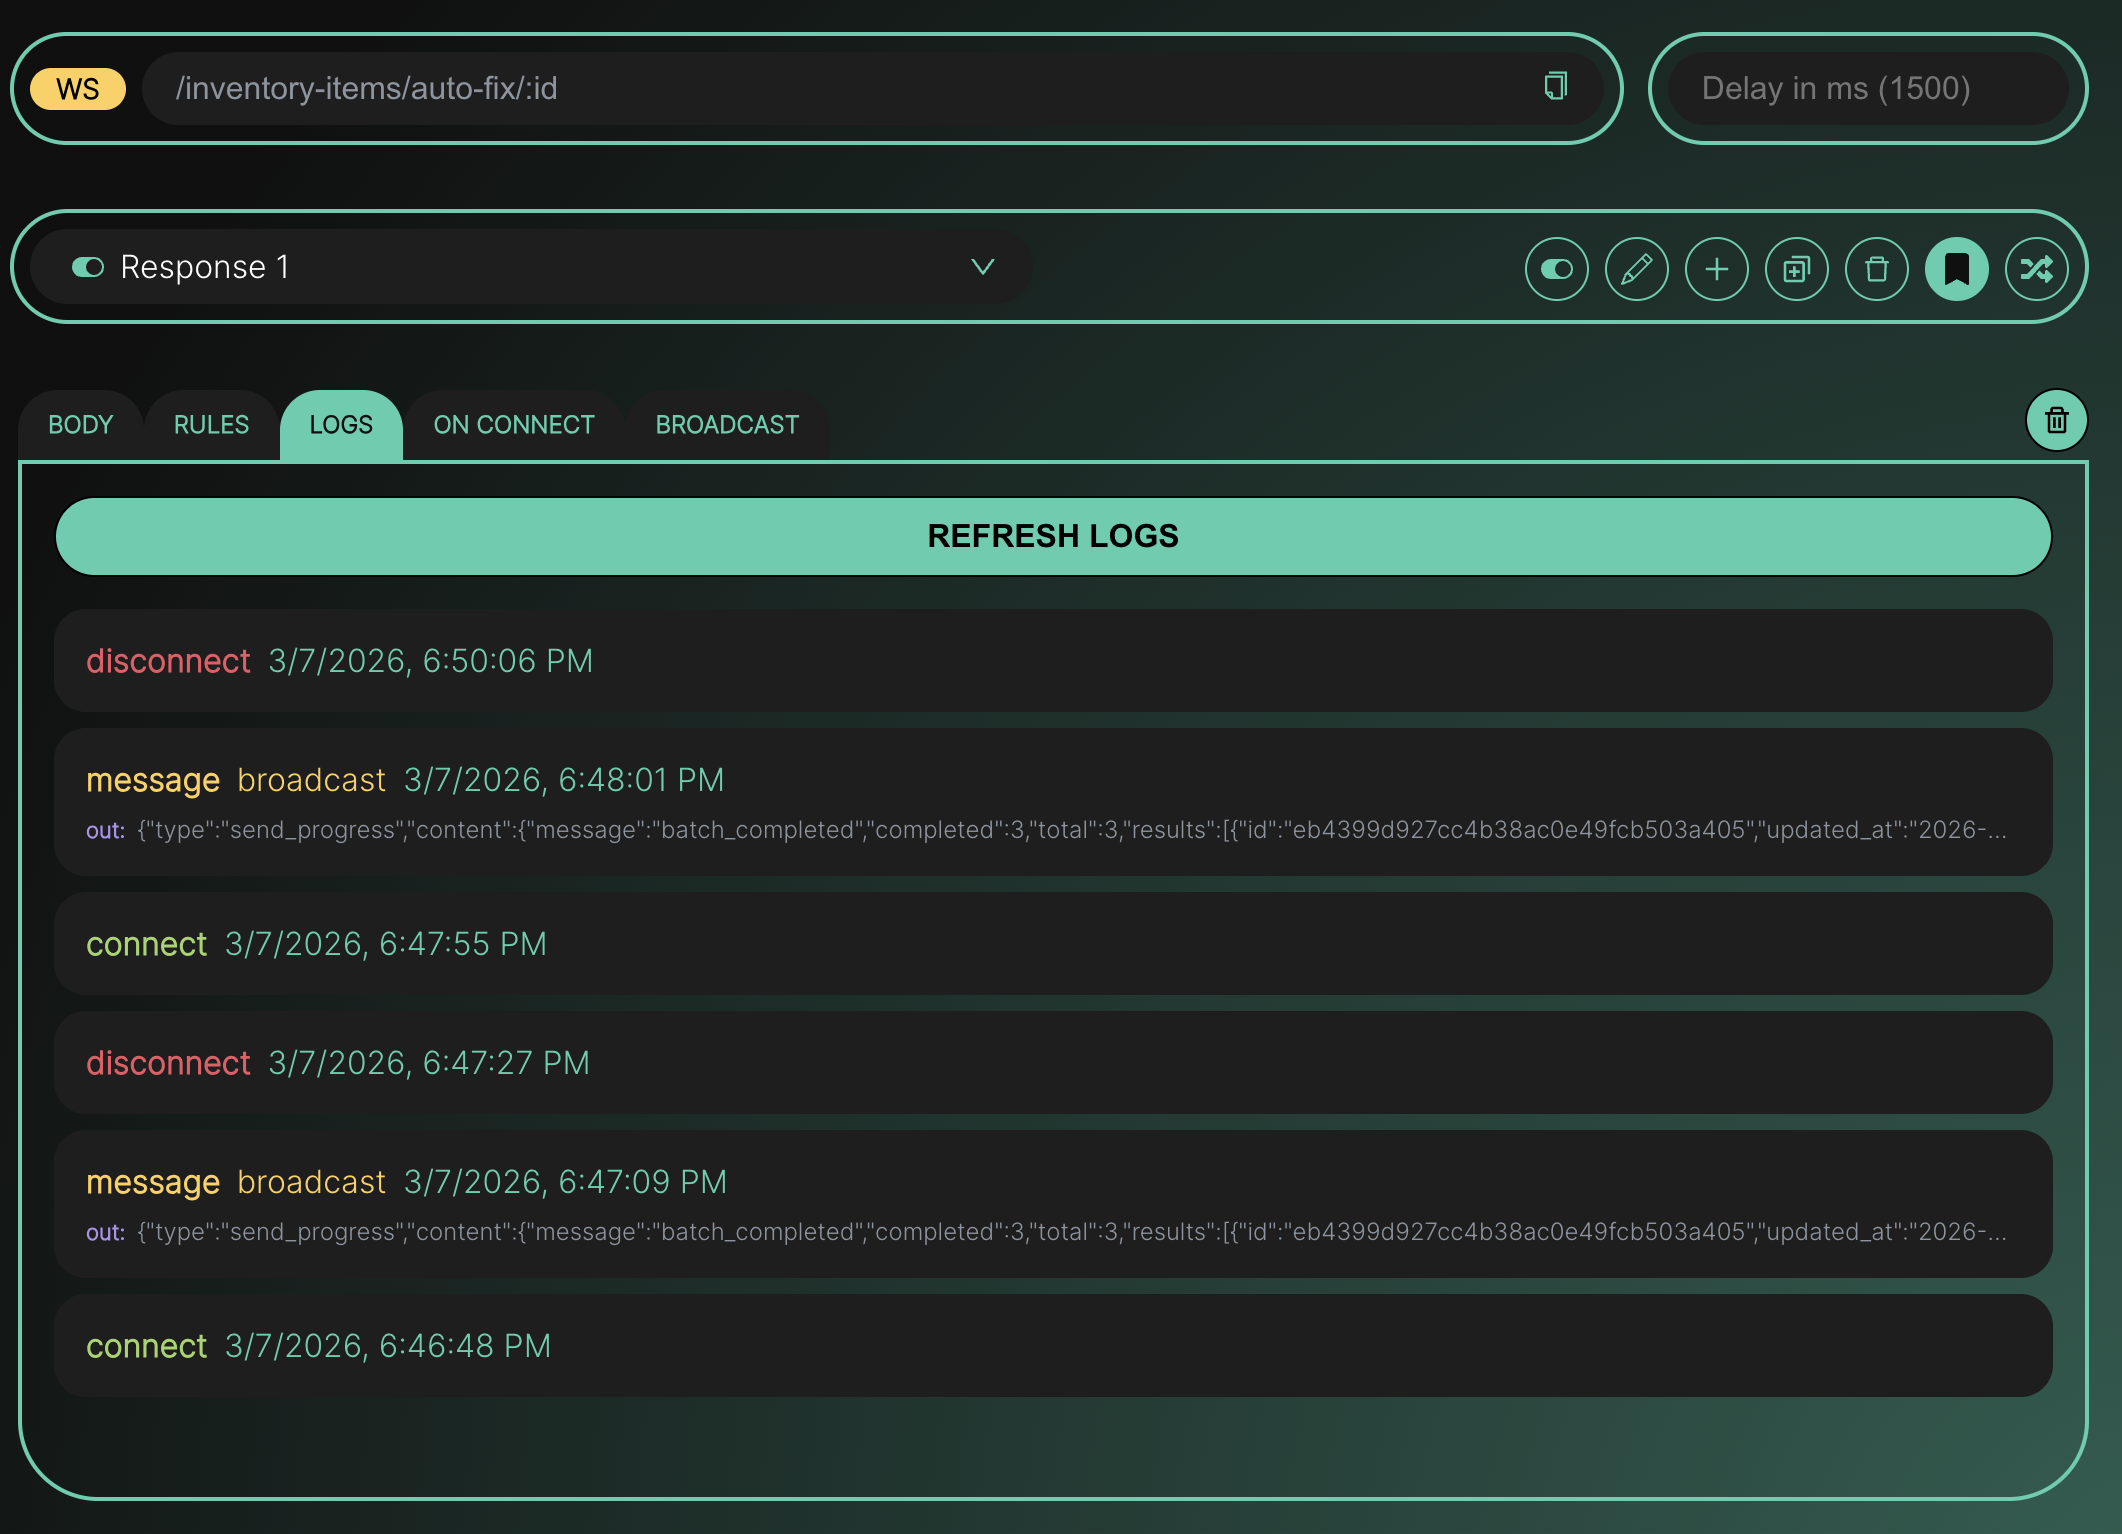
Each log entry shows the event type, timestamp, and response name (if applicable). For message logs, you can click on the entry to open a detail modal with the full incoming and outgoing message content.
Response Delay
You can configure a delay (in milliseconds) for your WebSocket endpoint. This adds a wait time before the server responds to each message, which is useful for simulating network latency or slow server processing.
Testing Your WebSocket Endpoint
You can test your WebSocket endpoint using any WebSocket client. Here are some options:
Using Postman
- Open Postman and create a new WebSocket Request
- Enter the URL:
ws://api.mockfly.dev/mocks/your-slug/ws/your-path - Click "Connect"
- Send messages and see the responses
Using JavaScript
const ws = new WebSocket('ws://api.mockfly.dev/mocks/your-slug/ws/your-path')

ws.onopen = () => {
  console.log('Connected!')
  ws.send('hello')
}

ws.onmessage = (event) => {
  console.log('Received:', event.data)
}

ws.onclose = () => {
  console.log('Disconnected')
}
Using wscat (CLI)
npx wscat -c ws://api.mockfly.dev/mocks/your-slug/ws/your-path